- Home
- Cupcake Birthday Card
Chocolate Cupcake Birthday Card
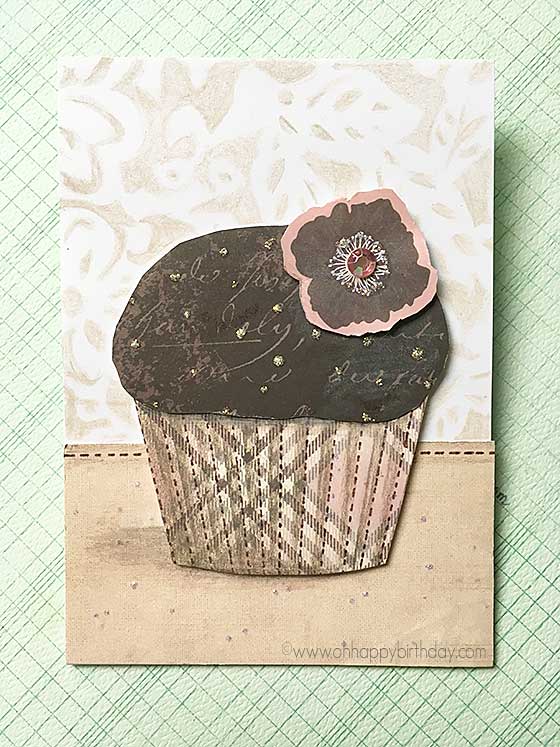
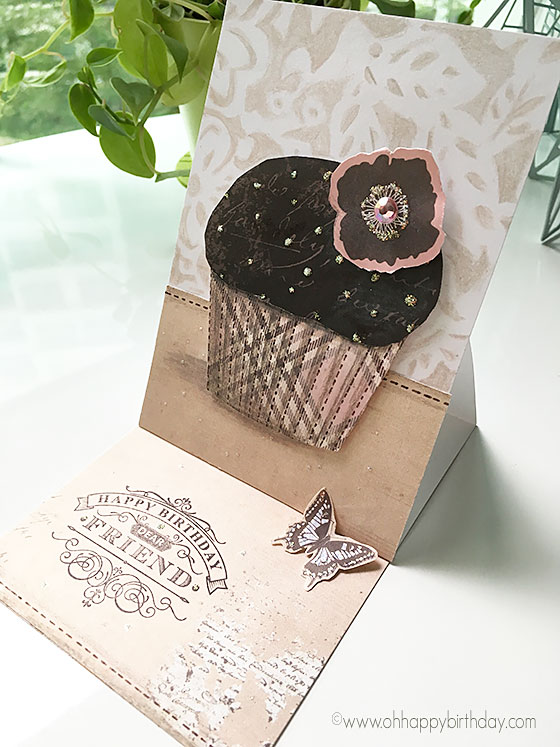
Delicious cupcake birthday card topped with chocolate buttercream and flower in a pink plaid cupcake liner. What a treat in an easel card with butterfly as a stopper.
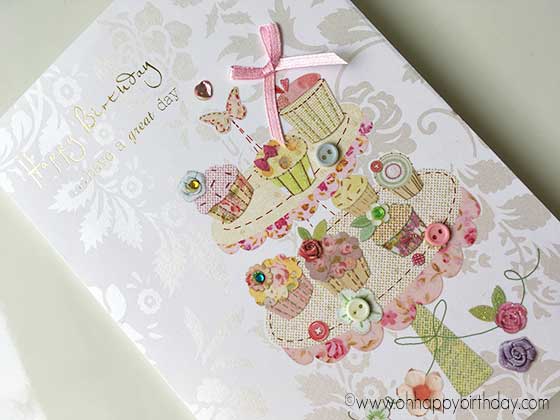
This handmade birthday greeting card design was inspired by my 60th birthday card (below) given by my girl friends. They are my bff (Best Friends Forever) :-)
A Chocolate Buttercream Cupcake Birthday Card
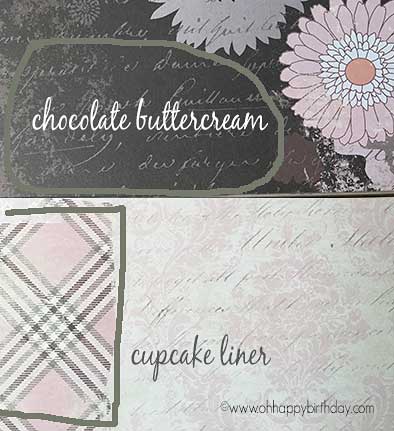
Searching my pattern paper for design idea and found this two sheets of co-ordinating design card stocks that would used to cut out to make the cupcake card I have in mind. The dark brown background is just lovely for making the chocolate buttercream top and that corner plaid could be just right for the cupcake liner.
Yummy! Wish I have the magic power to turn it into a real cupcake ;-)
Below are the steps I took to making this handmade birthday card.
Step 1
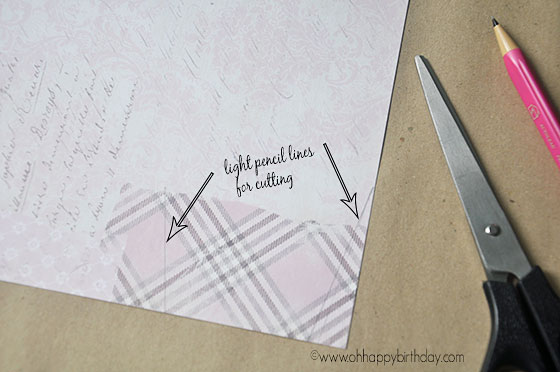
- Draw lightly with pencil the shape of the liner on the plaid pattern.
- Cut it out.
Step 2
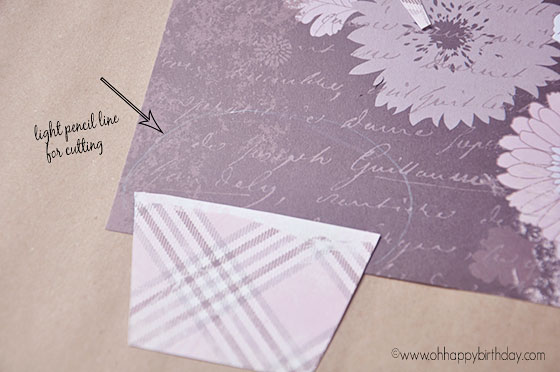 Step 2 : Buttercream Top
- Do the same for the buttercream top.
- Use the cutout liner for size.
Step 3
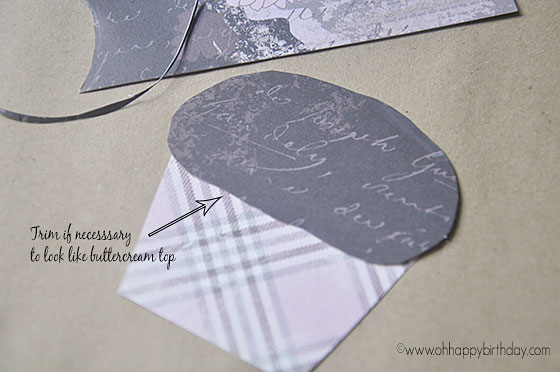 Step 3 : Trimming
- Place top of cupcake cutout onto the liner and make sure that it looks pleasing as a whole.
- Trim the bottom of the buttercream to make it slightly curved and wavy.
Step 4
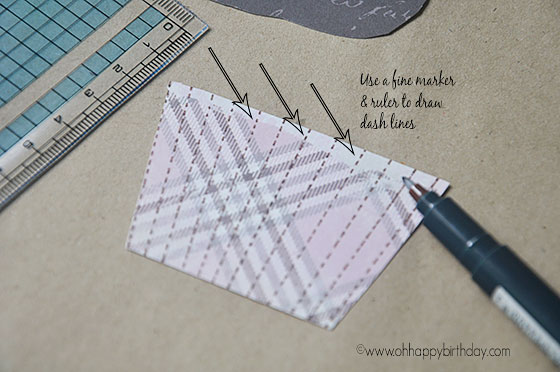 Step 4 : Cupcake Liner
- Use a fine marker and ruler to draw dashed lines to create the cupcake liner.
- I used an acrylic ruler so that I can see through to have an idea of the distance from one dashed line to another.
Step 5
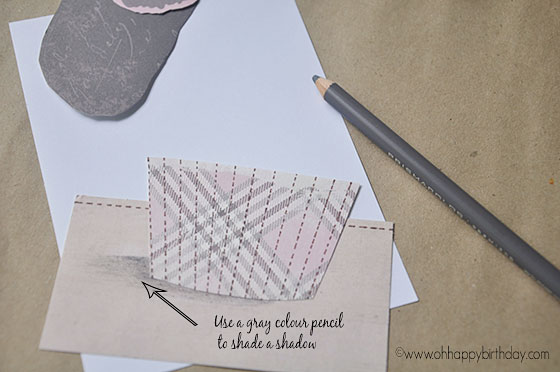 Step 5 : Shading Shadow
- Cut out a piece of beige colour card-stock to sit the cupcake liner.
- Draw a dashed line with fine marker at the top edge of the beige card.
- Place cupcake liner on top and shade in the shadow with a grey colour pencil. Imagine the light source coming from the right.
- Also shade the liner on the right side of each vertical dashed line to create zigzag illusion. (view finished Cupcake Birthday Card below)
Step 6
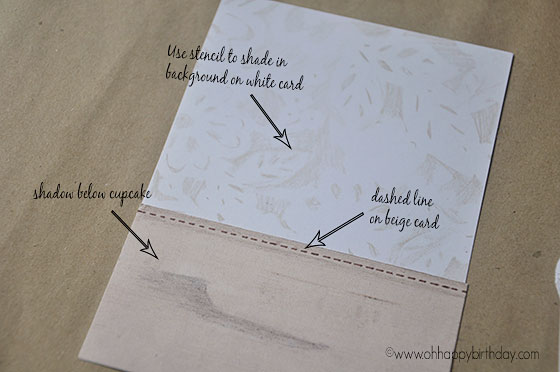 Step 6 : Background
- Lightly draw a design onto the top of a white card-stock the same size as the front of the base card.
- I used a background stencil.
- Colour with a light beige colour pencil.
- Glue beige card aligning with the bottom of white card.
Step 7
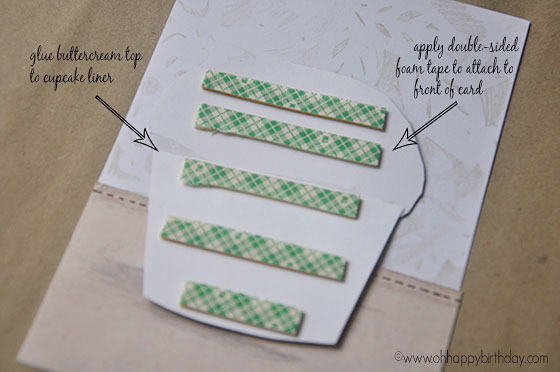 Step 7 : Attach Cupcake to Card
- First glue the top to the bottom.
- Apply double-sided foam tape on to the whole.
- Place onto the card aligning with the shaded shadow.
Step 8
- See the shaded shadow on the liner creating a zigzag illusion.
- Cut out a flower from the same designer paper and attached to top right of cupcake.
- Apply glitter glue and flower and buttercream and also the beige card which supposed to serve as a tablecloth.
- Add a pink bling bling gem on the centre of flower.
Notice that no birthday greetings is written onto the card design. The reason is that I wanted to make this the front design of an easel card.
The above can be a simple card front for a birthday card with birthday wishes handwritten inside.
Otherwise, make a easel base to glue this card front to.
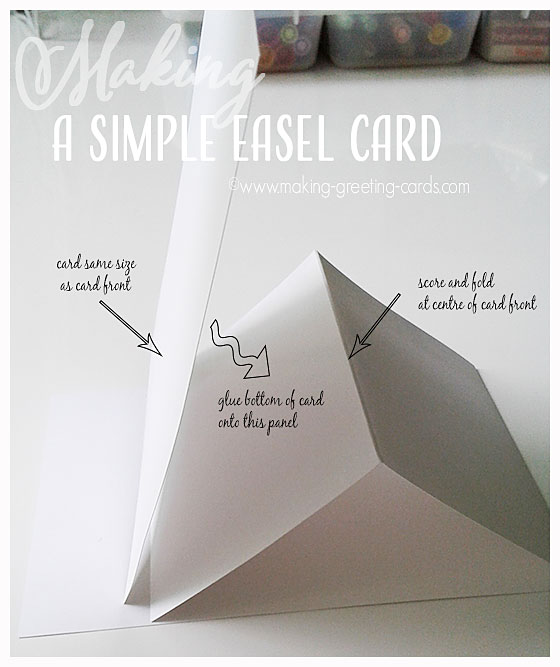
Below is the easel I created to show off this cupcake birthday card. This is for my making greeting cards website.
Use a basic folded card and score and fold the front at the middle.
Attach the bottom of the decorated cupcake card front to the indicated panel with strong adhesive.
And then follow step 9 below to finish this easel cupcake card.
Step 9
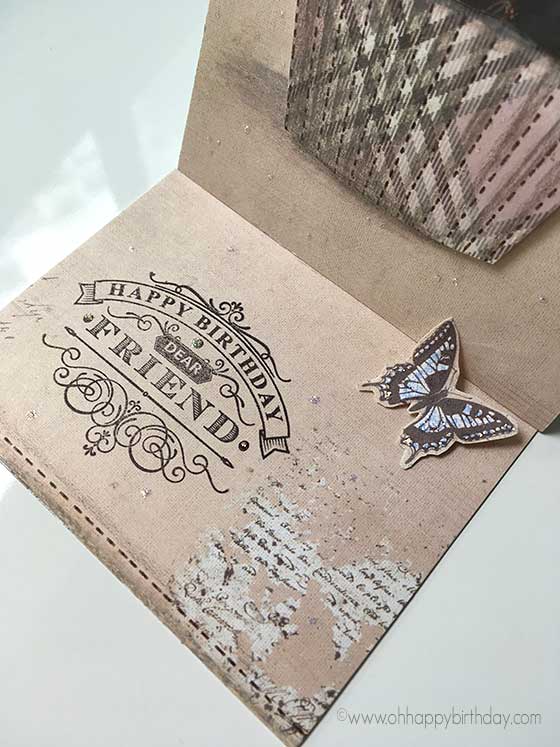 Step 9 : Decorate the Inside
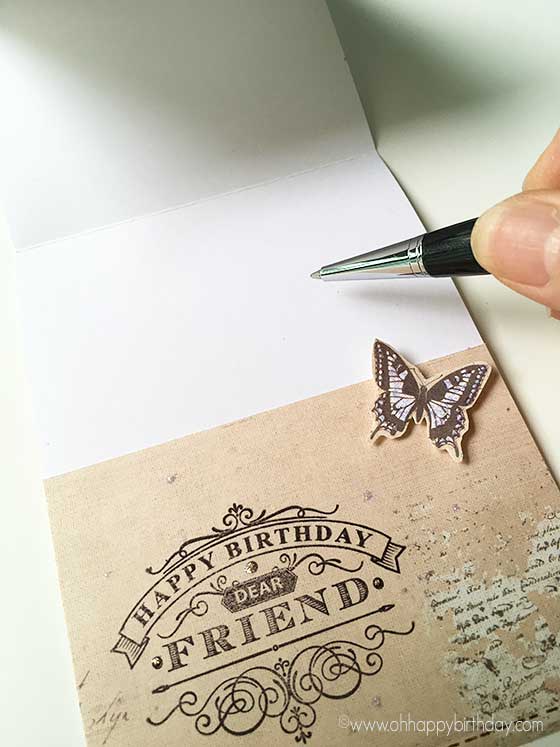
- Add the same paper design paper for the inside bottom half of card.
- The card should be about half of the basic card size.
- Stamp or handwrite a greetings. I stamped 'Happy Birthday Dear Friend' as I am going to give it to a girl friend whose birthday is this coming Friday.
- The most important part of this step is the stopper. I used a butterfly cutout for this purpose. Attached with foam tape.
- A stopper will keep the card from sliding down. This way, the recipient can display this Cupcake Birthday Card by standing it on a counter or table-top like an easel thus the name, 'Easel Card'.
Step 10
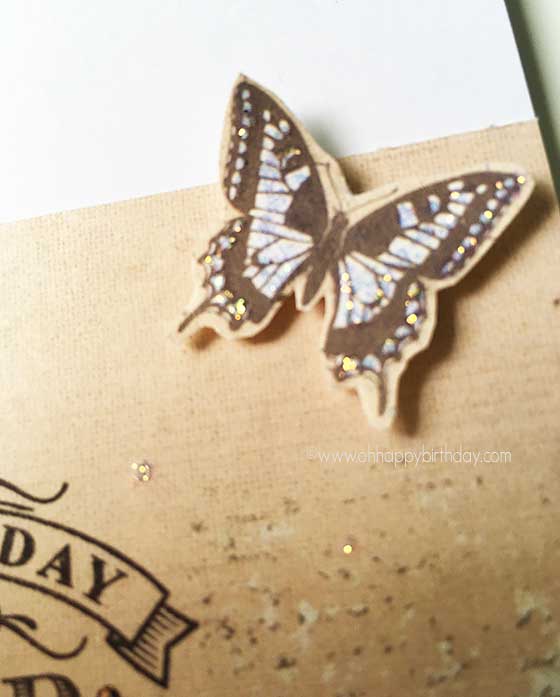 Step 10 : Add Glitters
- Add some glitters to the butterfly and also on the beige card around the birthday greetings as well as on the dots.
The space above the beige card inside is just nice to write a heartfelt birthday wish for the birthday gal.

New! Comments
Please let me know what you think about this birthday card and/or article? Leave me a comment in the box below.